|
| Clusters of primordia surfaced yesterday, one month after I first inoculated the substrate of coffee grounds. Here each of the mushrooms is less than .5 centimeters in diameter. Today they're at least twice as large and, if all goes well, they'll continue to grow rapidly. |
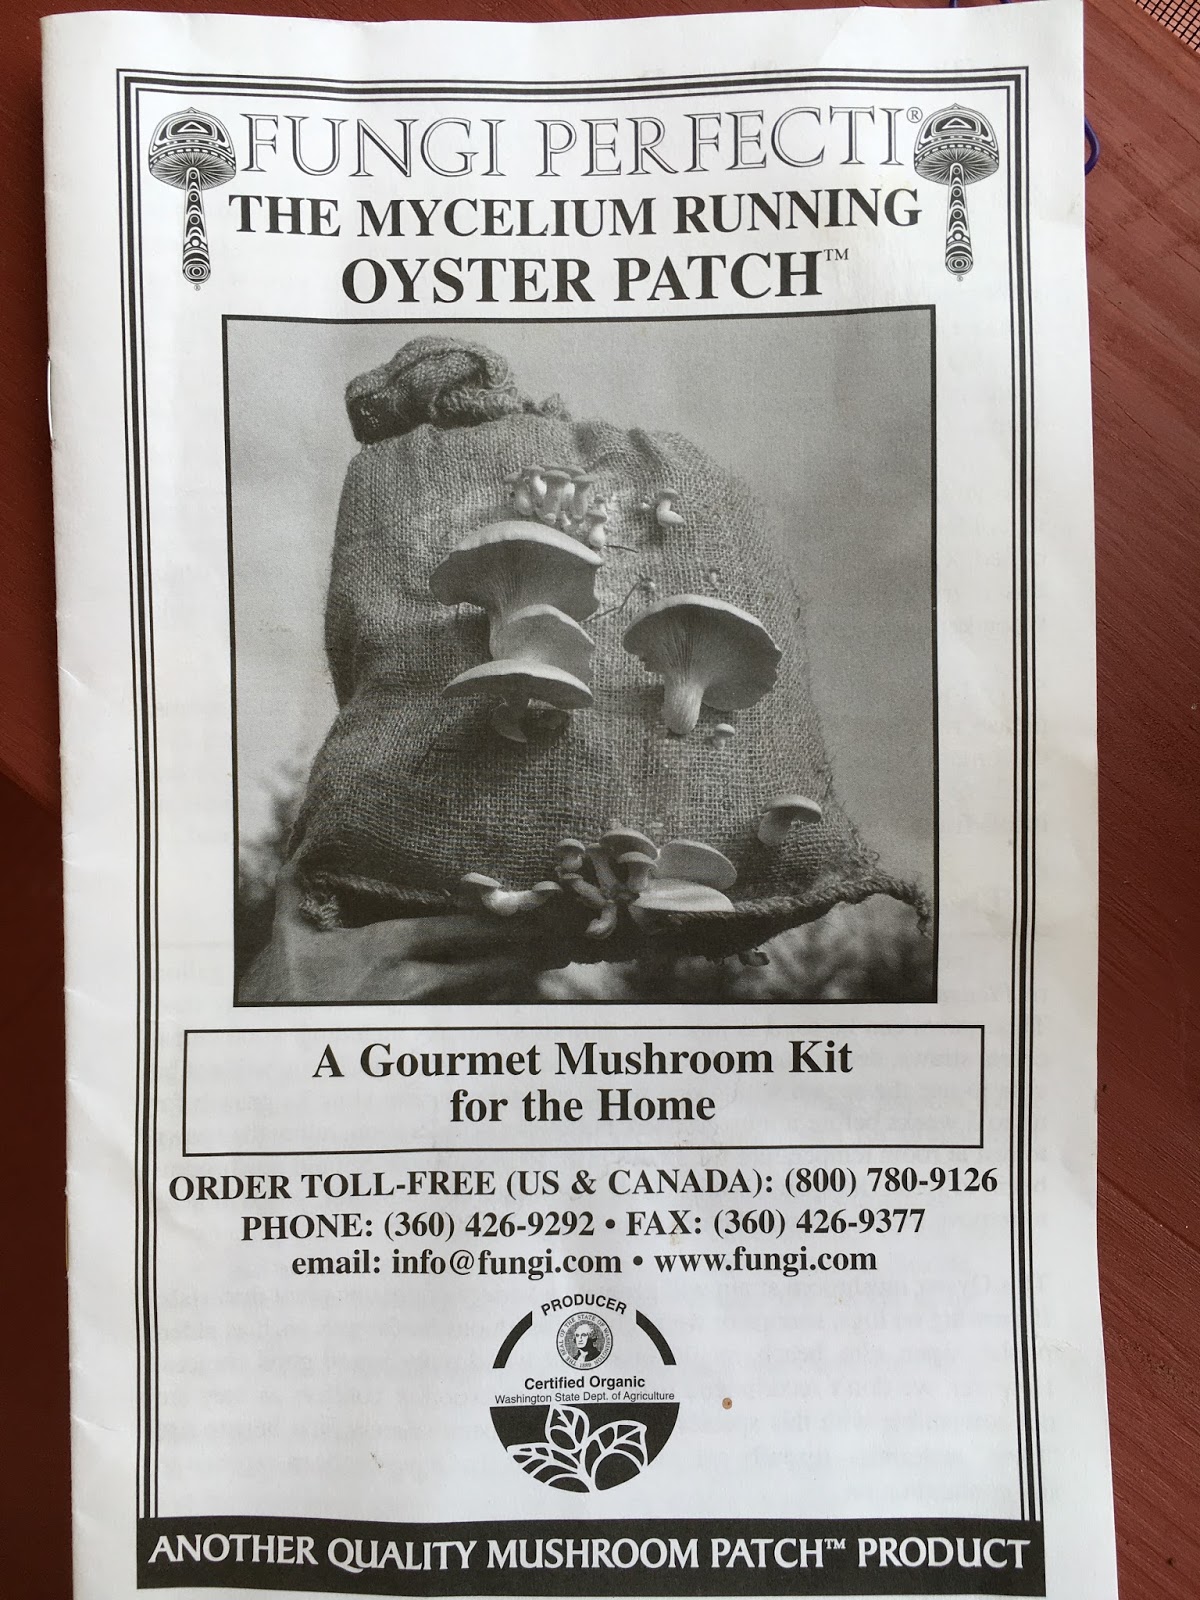
To inoculate your substrate (in my case coffee grounds, but you can use other growing mediums), the absolutely first thing you need is to secure your oyster mushroom spawn with mycelium running throughout. My spawn and how to knowledge came from Fungi Perfecti. (They are my go-to resource, and I'm simply showing you that anyone can do this.) There are other commercial sources for mushroom spawn, as well.
These are the supplies I used:
- 5 gallon plastic bucket
- 4-5 pounds of used coffee grounds to use as the substrate/growing medium - free from my local Starbucks, so a very urban/suburban option (Note: If you don't use the grounds right away, you can freeze until you're ready so they don't get skanky.)
- disposable gloves - wear whenever touching the inside of the bucket or any of the spawn or substrate (coffee grounds)
- rubbing alcohol and a clean rag
- oyster mushroom spawn
Once you have all your supplies, start by preparing the bucket. Drill air holes near the top for air and in the bottom for drainage. (I set the bucket on a large saucer and both atop a stool, so I can easily move my experiment, as needed, to optimum light, temperature, and humidity.)
The day of inoculation:
- Sterilize your bucket with soap and water, then a final rinse of rubbing alcohol. (Remember to wear gloves and/or sanitize your hands with the alcohol before touching the clean bucket.)
- Pasteurize your substrate. (I boiled used coffee grounds in non-chlorinated water for 30 minutes and let cool before pouring into my bucket.)
- Mix the coffee grounds with the spawn.
Wait for the mycelium to colonize the bucket. In my case, I saw the first signs of healthy growth in five days.
Wait some more.
Depending on your results, adjust conditions. In my case, it took a full month from inoculation to seeing mushrooms beginning to fruit. (Last week I showed you what happened when my first flush of oyster mushrooms sprouted in an undesirable coral formation. So, I removed the coral and the plastic humidity tent to provide more oxygen and misted the surface with a diluted hydrogen peroxide solution to treat suspicious, possibly competing green mold.
I'm finally getting good results. Fingers crossed. I'll take pictures every day to record mushroom progress and report next week!
To learn more about why I write sci-fi eco-adventures, and to find out more about my work-in-progress and how writing Mission to Blue Grannus requires my research into fungi and myco-remediation, tap on KHBrower.com.